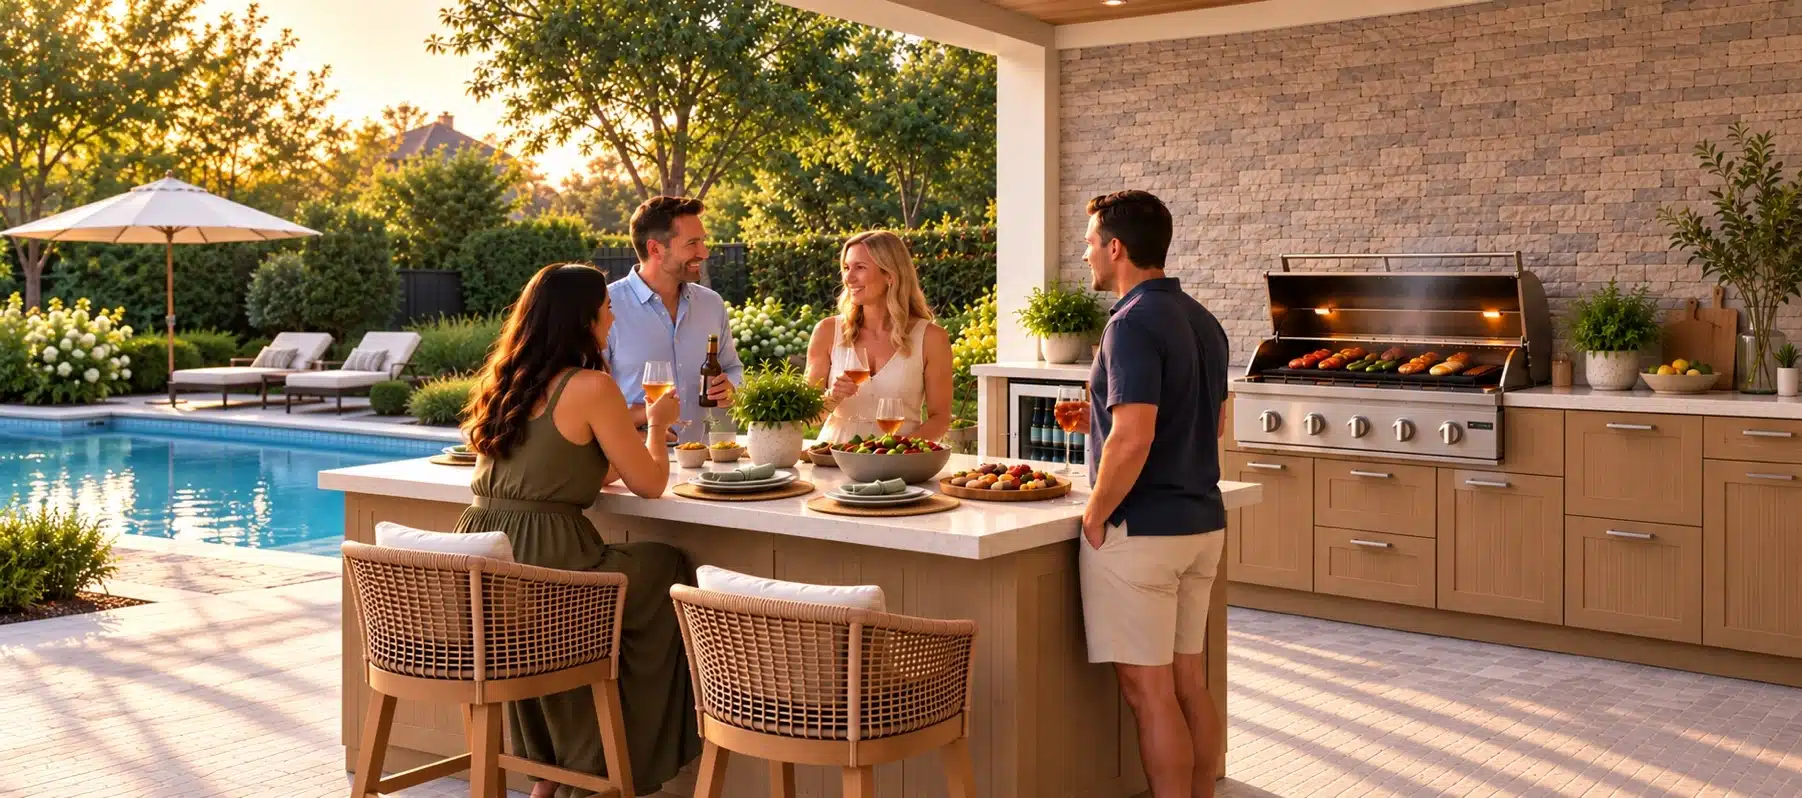


An outdoor kitchen brings together a prepared base, utilities, cabinetry, appliances, and countertops. Planning how those parts fit together helps you ask useful questions and avoid rework. This guide explains who does what and the main stages of installing an outdoor kitchen. Fortiva recommends professional installation. Treat the stages as a planning framework: cabinet ordering, permits, and site work can overlap, while the appliance and countertop sequence depends on the equipment and installation instructions.
Who installs an outdoor kitchen?
Most outdoor kitchens involve more than one trade, coordinated by a single lead.
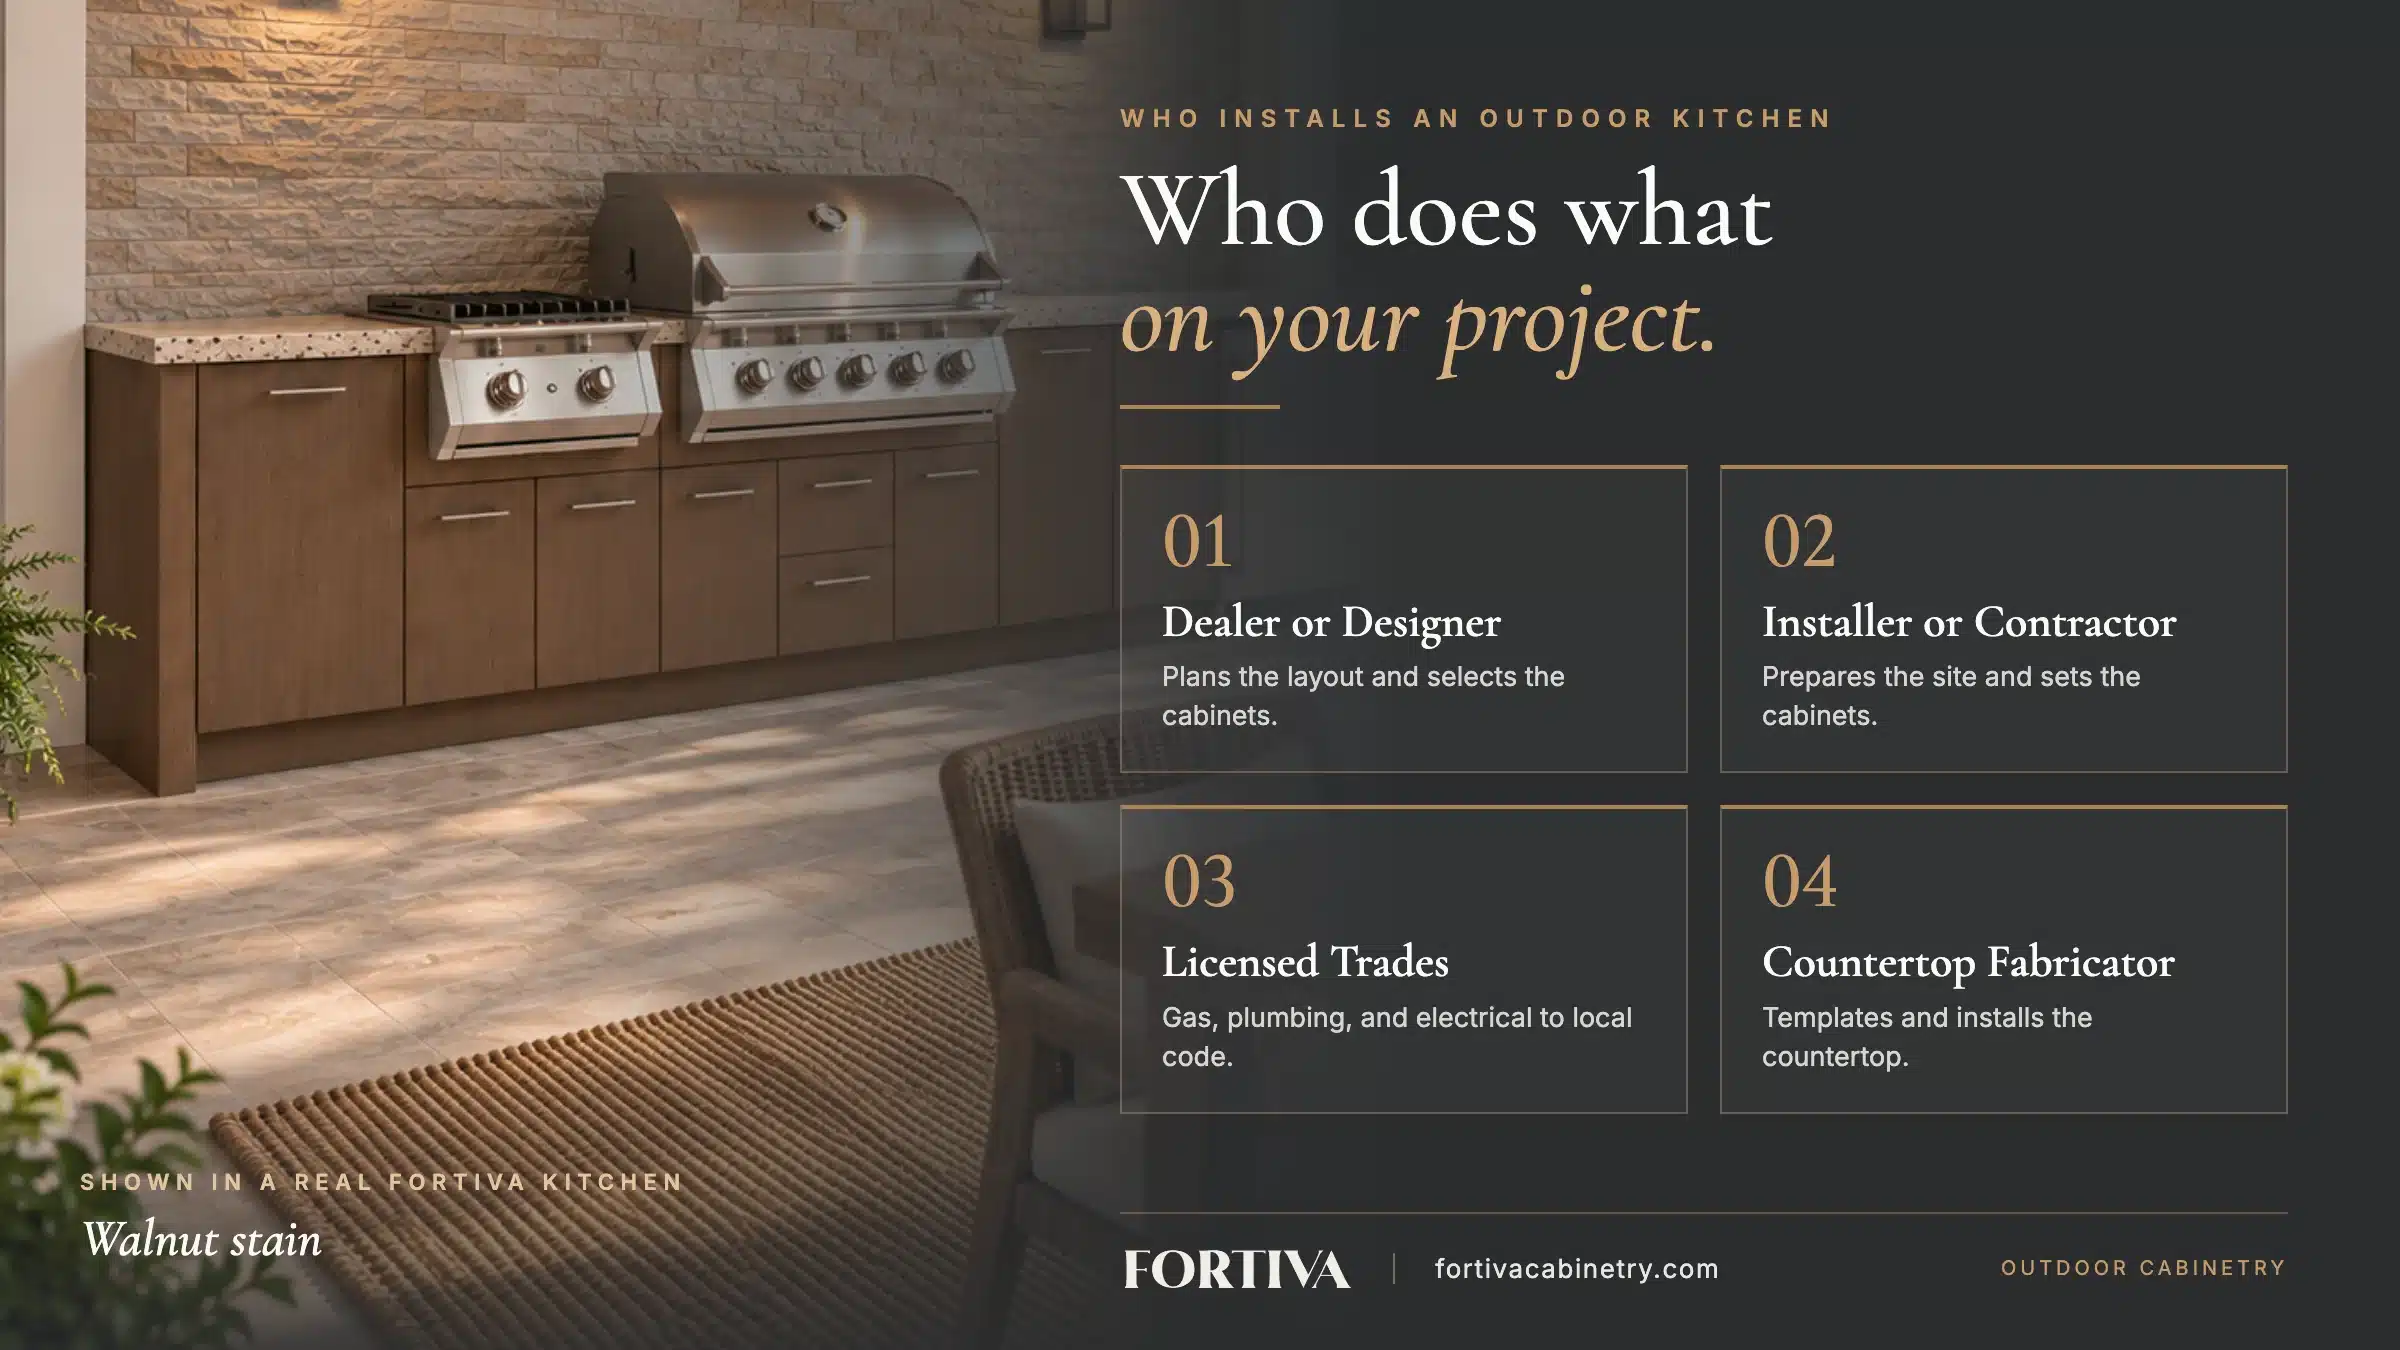
The dealer or designer plans the layout, selects the cabinets, and makes sure the appliances and cabinets work together.
The installer or contractor prepares the site, sets the cabinets, and coordinates the other trades. This may be a remodeler, a landscape or hardscape contractor, or an outdoor kitchen specialist.
Licensed trades handle the utilities: a gas fitter or plumber for gas and water lines, and an electrician for power.
The countertop fabricator measures and installs the countertop once the cabinets are set.
Ask your Fortiva dealer about cabinet planning and the installation coordination available for your project.
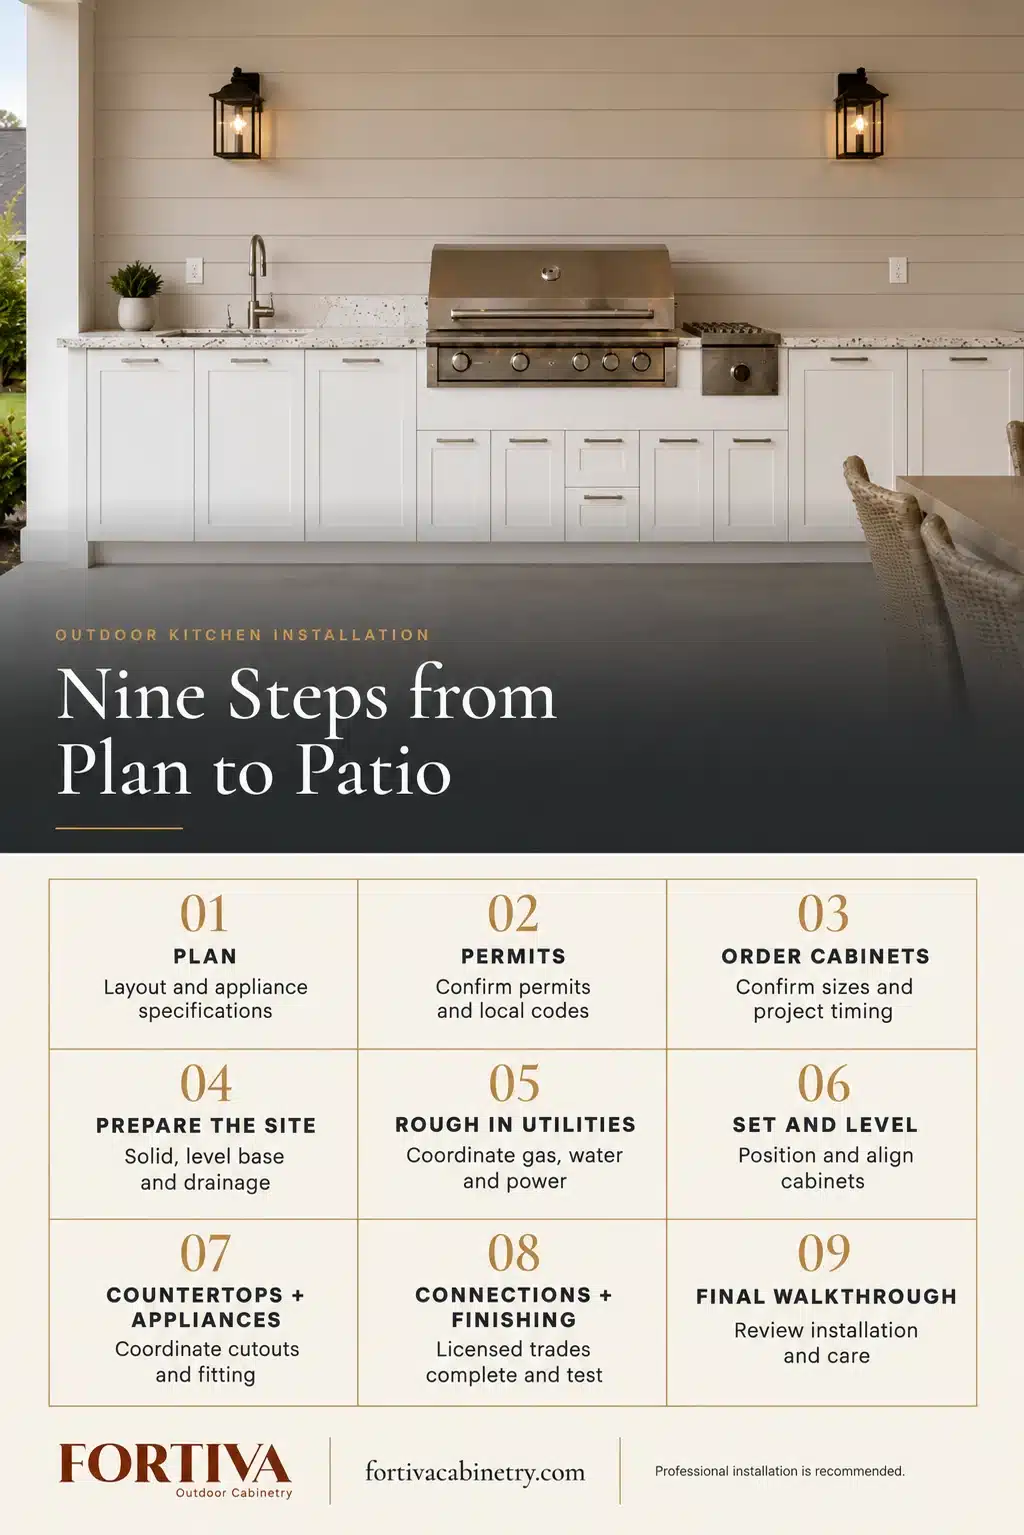
Step 1: Plan the layout and confirm the appliances
Before work begins, settle the layout: where the grill goes, whether there is a sink, how much storage you need, and how people will move around the space. If you are still deciding on a shape, our guide to outdoor kitchen island ideas can help.
Choose the appliances at this stage, too. Grills, side burners, refrigerators, and sinks each have their own dimensions, clearance, and ventilation requirements, set by the appliance manufacturer. Fortiva cabinetry is designed to work with many outdoor appliances, but fit should always be confirmed against the manufacturer’s specifications before anything is ordered.
Step 2: Check permits and local codes
Many outdoor kitchens need a permit, especially when they involve new gas lines, electrical circuits, or plumbing. Requirements vary by city and county, and some homeowners associations have their own rules. Your contractor should confirm what applies to your property before work starts, so the project is not delayed or reworked later.
Step 3: Order the cabinets and coordinate the schedule
Once the layout, appliance specifications, and relevant approvals are confirmed, place the cabinet order through the dealer. Fortiva is a modular, semi-custom system with defined cabinet sizes. Confirm the cabinet dimensions, appliance fit, and panels needed to finish exposed ends before ordering.
Ask your dealer for the current quoted lead time and delivery arrangements. Coordinate permits, site preparation, utility rough-in, and countertop fabrication around that quote rather than waiting until the site work is finished to order.
Step 4: Prepare the site
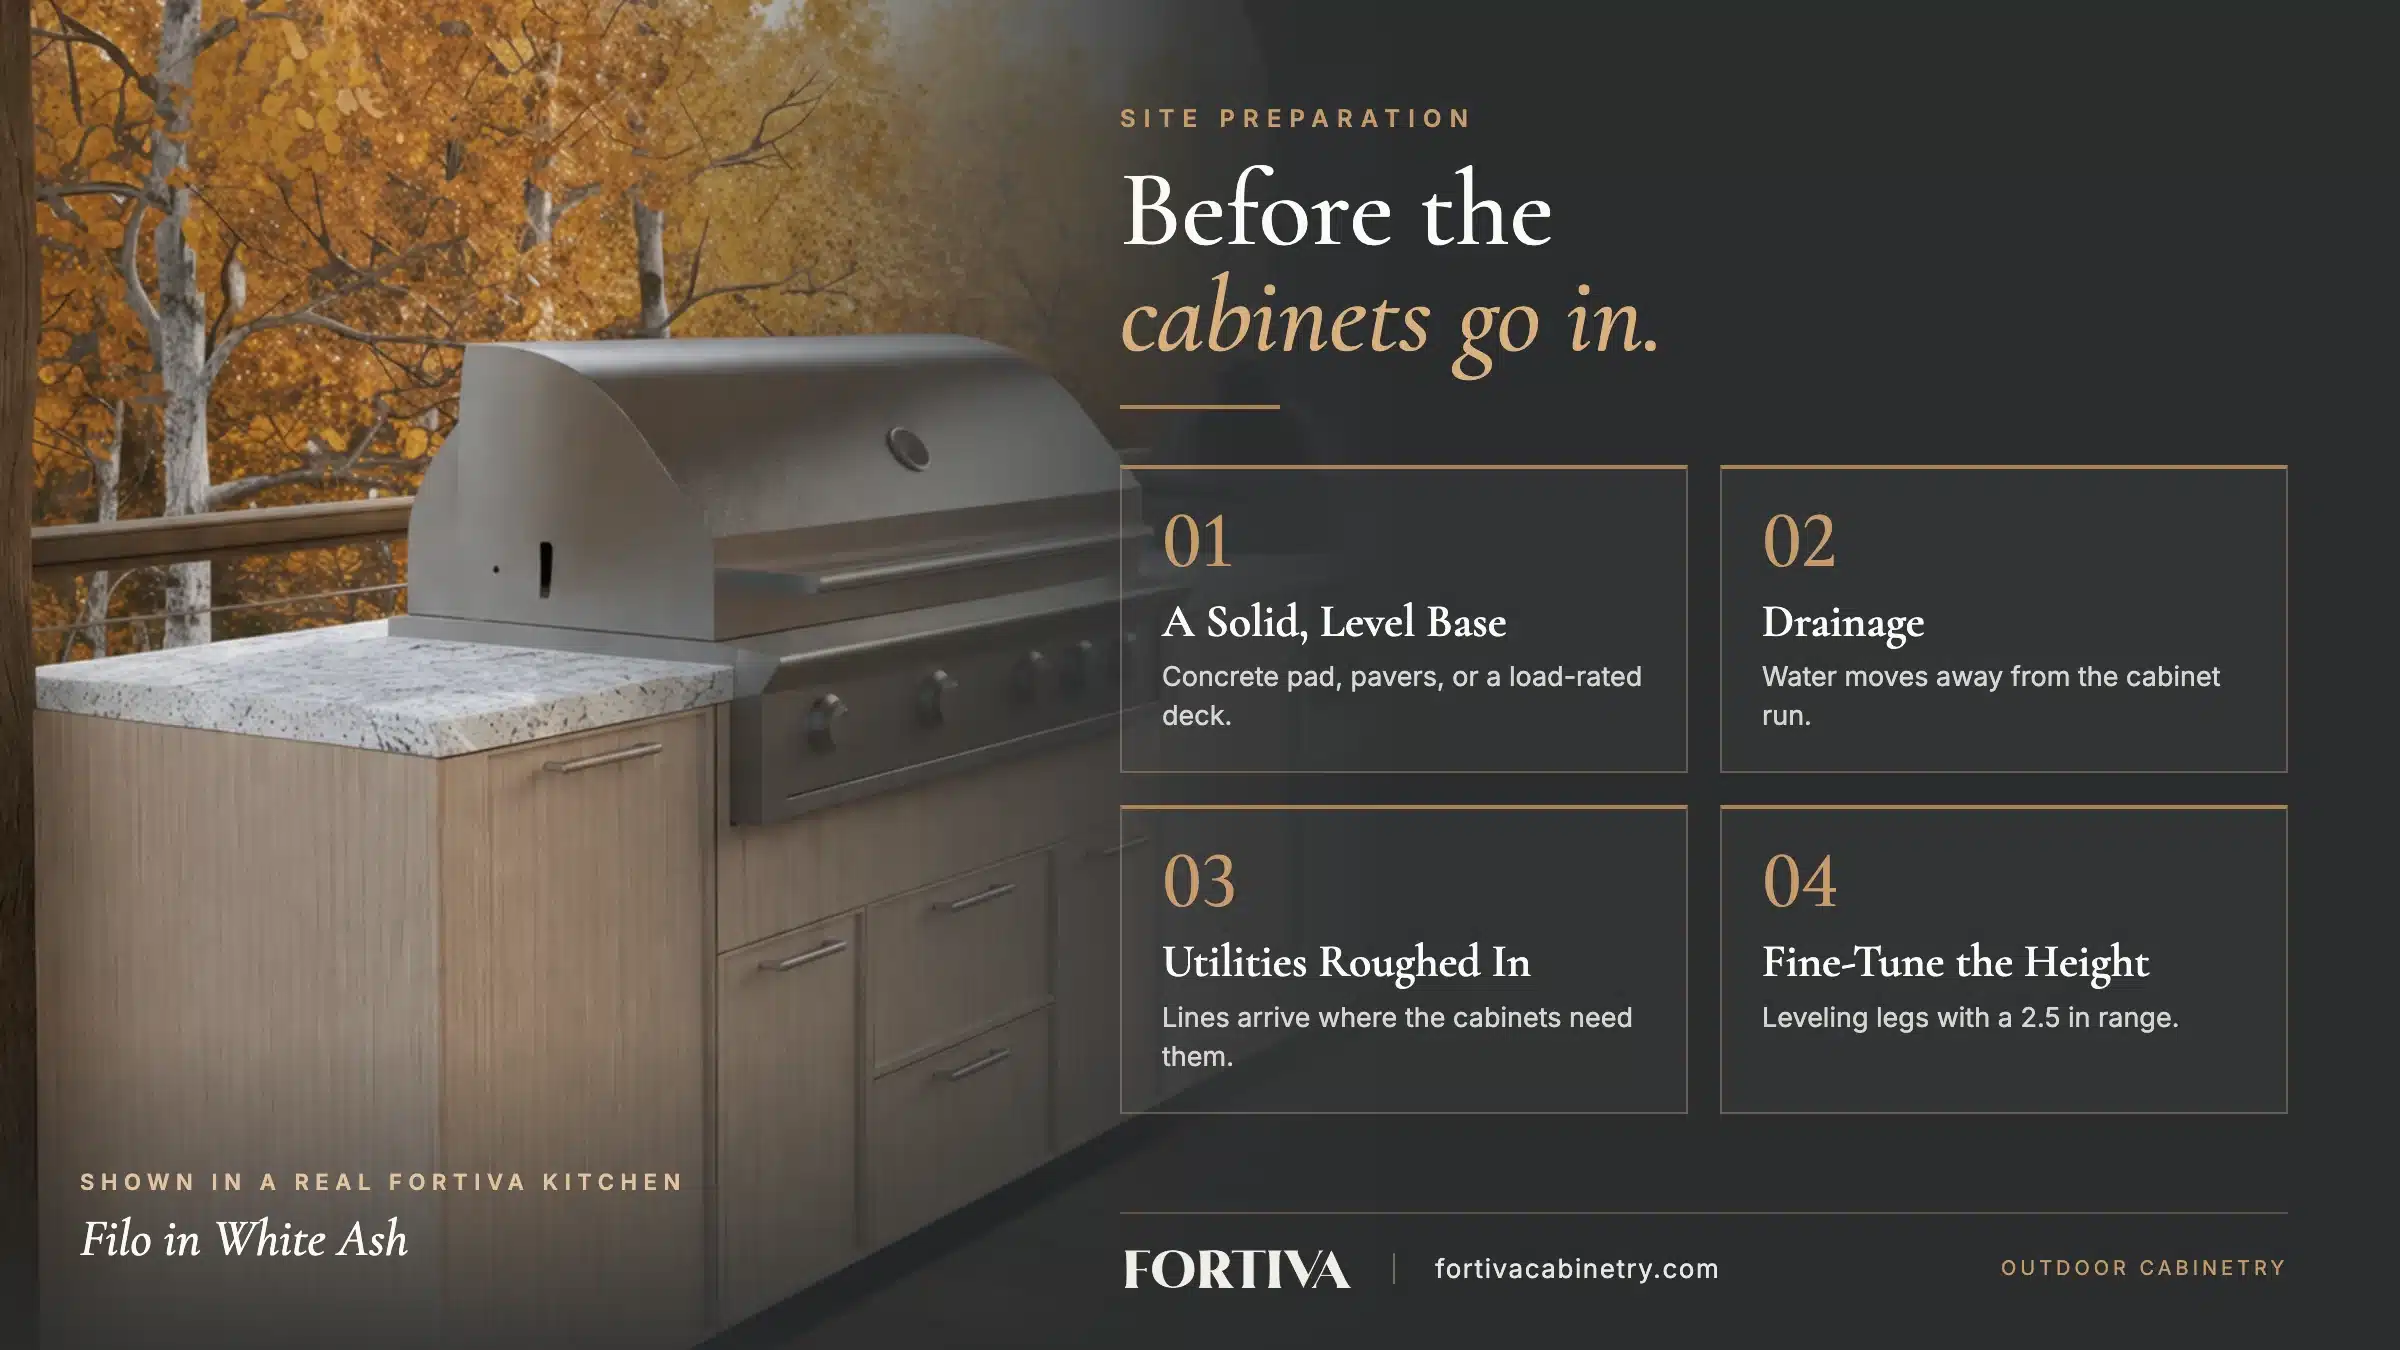
The base under an outdoor kitchen matters as much as the cabinets above it.
A solid, level base. Outdoor kitchens are typically installed on a concrete pad, pavers, or a deck rated for the load. A level surface is ideal. Fortiva cabinets include adjustable leveling legs with a vertical range of 2.5 inches to fine-tune the final height, but they are not a substitute for a properly prepared base. For uneven or sloped areas, Fortiva recommends consulting a professional installer for site preparation.
Drainage. The base should shed water away from the cabinet run so water does not pool underneath. Good drainage is one of the factors that helps weather-resistant cabinetry perform over time.
Weight and structure. Countertops and appliances are heavy. On a deck or rooftop, a structural professional should confirm the surface can carry the load.
Step 5: Rough in the utilities
Utilities are roughed in before the cabinets go in, so lines arrive in the right place.
Gas. A licensed professional runs natural gas or propane lines for the grill and side burners and must comply with local codes. If the grill uses a portable propane tank, plan where the tank will live; a propane tank pullout keeps it in one place.
Electrical. Refrigerators, lighting, and some grills need power. Outdoor circuits require weather-rated outlets and code-compliant protection, installed by a licensed electrician.
Water and drainage. A sink needs a supply line and a suitable drainage arrangement. Have the plumbing contractor confirm the requirements for your property before rough-in.
Fortiva grill cabinets and power burner cabinets include conduit points for connections to services such as electrical and gas, and sink cabinets include conduit points for plumbing, which keeps lines routed cleanly through the cabinetry.
Step 6: Set and level the cabinets
When the cabinets arrive, the installer sets them in position, levels them using the adjustable legs, and fastens the run together so the fronts line up. Fortiva cabinets come with an installation guide, and following it, along with the appliance manufacturers’ instructions, is part of a correct installation. Exposed ends receive side panels at this stage.
Step 7: Coordinate countertops and appliance fitting
Once the cabinets are set and level, the installer and countertop fabricator should agree on templating, cutouts, support, and appliance fitting. Some appliances are fitted before the countertop and others afterward, so follow the equipment manufacturers’ instructions. Fortiva requires an insulated jacket for all heating elements, including grills and side burners. Review Fortiva’s warranty terms and confirm clearances and ventilation with the appliance manufacturer and installer.
Step 8: Complete connections and finishing
Have the appropriate licensed trades complete and test the gas, electrical, water, and drainage connections. Fit any remaining appliances in the agreed sequence. Install the selected decorative hardware and check the completed cabinetry and countertop installation.
Step 9: Final walkthrough and care
At the end of the project, walk through the kitchen with your installer. Check that doors and drawers open smoothly, that everything is level, and that the appliances run correctly. Ask how to winterize any plumbing if you live in a cold climate.
Routine care is simple: clean the cabinets with mild soap and water on a soft cloth; avoid abrasive cleaners; and rinse the cabinetry regularly near a pool or hot tub to prevent chlorine from sitting on the finish.
How long does outdoor kitchen installation take?
The schedule depends on the kitchen’s size, permits, site preparation, utility work, cabinet availability, and countertop fabrication. Your dealer and contractor can provide a project schedule once the scope and the current cabinet lead time are confirmed.
Why professional installation matters
An outdoor kitchen combines heavy materials, gas, electricity, and water in a space exposed to the weather. Professional installation helps ensure the base is sound, the utilities meet code, the appliances have the clearances and ventilation they need, and the cabinets are set as designed. Fortiva recommends professional installation for best results, and its warranty does not cover damage resulting from improper installation.
To discuss your layout and connect with an authorized dealer, contact Fortiva.
Frequently asked questions
Do I need a permit to install an outdoor kitchen?
Permits are often required for new gas lines, electrical circuits, or plumbing. Your contractor should confirm local requirements and any homeowners association approvals before work starts.
Can I install outdoor kitchen cabinets myself?
Fortiva recommends professional installation. Use qualified installers and licensed trades for utility work, appliance fitting, clearances, ventilation, and cabinet installation.
What base do outdoor kitchen cabinets need?
Use an appropriate load-rated base with good drainage. The adjustable legs provide a 2.5-inch leveling range; they do not replace the need for professional preparation on uneven or sloped sites.
Do outdoor kitchen cabinets work with any grill?
Check the appliance manufacturer’s dimensions, clearances, and ventilation requirements with your dealer. Compatibility must be confirmed for the specific cabinet and appliance.
How long does it take to get outdoor kitchen cabinets?
Ask your dealer for the current quote and coordinate it with permits, site preparation, utilities, and countertop fabrication.
Who coordinates an outdoor kitchen installation?
Usually a lead contractor or installer coordinates the dealer, licensed trades, and countertop fabricator. Confirm responsibilities before work begins.